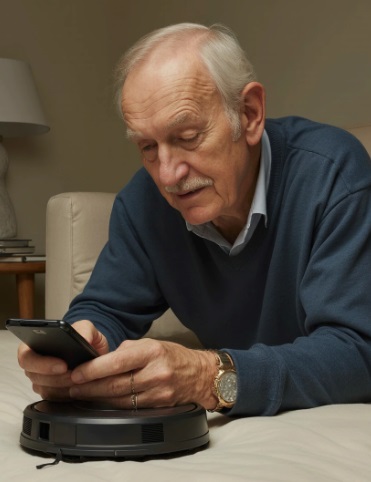
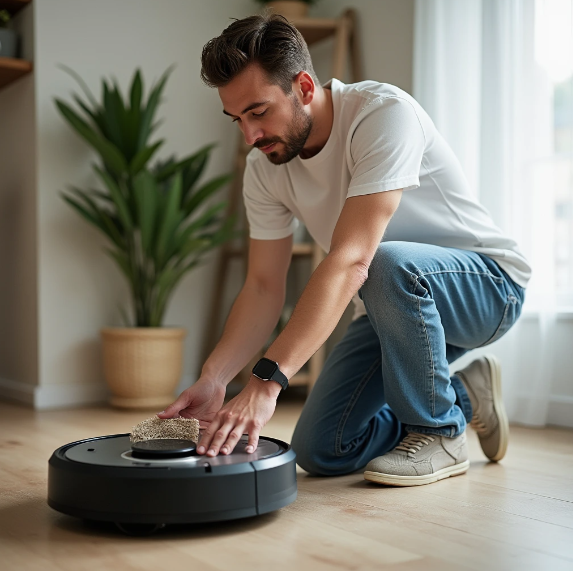
Smart robot vacuums (see products on Amazon here) have revolutionized home cleaning by making it easier, faster, and more customizable than ever. One of the most useful features is the ability to connect your robot vacuum to your home Wi-Fi network and control it from your smartphone. Not only can you start and stop cleaning remotely, but you can also choose exactly which rooms or zones you want cleaned—anytime, from anywhere.
In this guide, we’ll walk you through how to connect your vacuum to Wi-Fi and program it to clean only the areas you want. Whether you’re using a Roomba, Roborock, Ecovacs, or another brand, the process is quite similar. Let’s get started!
Why Connect Your Vacuum to Wi-Fi?
Connecting your smart vacuum to Wi-Fi offers a wide range of benefits:
Remote Control: Start, pause, or stop cleaning sessions from your phone.
Custom Cleaning Zones: Choose specific rooms or areas to clean.
Scheduling: Set up daily or weekly cleaning routines.
Software Updates: Keep your device up to date with the latest features and improvements.
Smart Home Integration: Connect with Alexa, Google Assistant, or other smart devices.
Step-by-Step: How to Connect Your Robot Vacuum to Wi-Fi
1. Download the Manufacturer’s App
Before you start, make sure you download the appropriate app for your vacuum brand. Here are some of the most common:
Roomba (iRobot) – iRobot Home App
Roborock – Roborock App or Mi Home App
Ecovacs – ECOVACS Home App
Eufy – EufyHome App
Shark IQ – SharkClean App
These apps are available for both Android and iOS devices.
2. Power On the Vacuum and Enable Wi-Fi Pairing Mode
Make sure your vacuum is fully charged or connected to its charging dock. Then, press and hold the Wi-Fi button (or follow the brand’s instructions) to put the vacuum into pairing mode. Usually, a blinking light will indicate it’s ready.
3. Open the App and Follow the Setup Instructions
Open the app and select “Add a Device” or “Set Up New Vacuum.” You’ll be prompted to:
Give your vacuum a name
Choose your Wi-Fi network (2.4 GHz is usually required)
Enter your Wi-Fi password
Important: Make sure your phone is connected to the same Wi-Fi network you want your vacuum to use.
4. Wait for the Connection to Complete
The app will begin pairing with the vacuum. This may take 1–2 minutes. Once connected, you’ll see a confirmation message. You’re now ready to start customizing your cleaning zones.
How to Set Cleaning Zones or Specific Areas
Once your vacuum is connected to Wi-Fi, you can take advantage of smart mapping features. Here’s how to create and manage custom zones.
1. Perform a Full Mapping Run
Most smart vacuums need to scan your home before you can set specific zones. Let your vacuum complete a full clean so it can generate a map of your home. This usually takes one or two runs.
2. Open the Map in the App
After mapping, go to the app’s map feature. You’ll see a layout of your home with different rooms identified. Depending on the brand, you may have options to:
Split or merge rooms
Label each room (e.g., Kitchen, Bedroom, Living Room)
Set “No-Go Zones” where the vacuum should not enter
3. Create Custom Zones
Most apps allow you to draw custom rectangular or square zones directly on the map. You can then label those zones and save them for future use.
For example:
Zone 1: Kitchen
Zone 2: Dining Room
Zone 3: Entry Hall
This allows you to target specific areas for cleaning without having to do the whole house.
4. Schedule or Manually Select Zones to Clean
Now that zones are defined, you can:
Schedule zone cleaning (e.g., clean the kitchen every day at 7 PM)
Start a manual session and choose the area(s) you want cleaned
Most apps also let you control suction power, mopping functions (if supported), and cleaning order per room.
Troubleshooting Wi-Fi and Zone Issues
Can’t Connect to Wi-Fi?
Here are a few common fixes:
Ensure your Wi-Fi is 2.4 GHz (5 GHz is not supported by most vacuums)
Reboot your router
Move the vacuum closer to the router during setup
Restart the app and try again
Zones Not Saving?
Make sure your vacuum has completed a full mapping run
Update your app and vacuum firmware
Double-check that you’ve saved the zone configuration
Tips for Better Cleaning Zone Performance
Close doors if you want to isolate rooms during cleaning.
Use boundary strips (included with some vacuums) for extra precision.
Name your zones clearly in the app to avoid confusion later.
Clean and maintain sensors regularly so the vacuum maps correctly.
Smart Home Integration: Voice-Controlled Zone Cleaning
If your vacuum supports it, you can also connect it to:
Amazon Alexa
Example command: “Alexa, tell Roomba to clean the kitchen.”Google Assistant
Example command: “Hey Google, start vacuuming the living room.”
To do this, you’ll need to link the vacuum app with your smart assistant via the respective app (Google Home or Alexa App).
Final Thoughts
Connecting your robot vacuum to Wi-Fi and setting up specific cleaning zones unlocks the full power of smart cleaning. Whether you want to clean only the kitchen after dinner or have the hallway vacuumed while you’re out, these features save time and improve efficiency.
With just a few taps on your phone—or a simple voice command—you can control exactly where and when your home gets cleaned. It’s convenience, customized to your lifestyle.
Would you like to know the best vacuum for your home setup? Check out our vacuum cleaner reviews for expert recommendations! For more tips and expert advice on maintaining your vacuum, visit our website bestvacuumsguide.com (here).

