Canister vacuums are a popular choice for households due to their powerful suction and flexibility. However, regular maintenance is crucial to ensure they function efficiently and last for years. In this guide, we’ll walk you through essential maintenance steps to keep your canister vacuum in top condition.
Why Regular Maintenance is Important
Maintaining your canister vacuum (see products on Amazon here) has several benefits:
Prolongs Lifespan: Prevents early breakdowns and extends the vacuum’s usability.
Maintains Suction Power: Ensures optimal performance by preventing clogs and blockages.
Improves Air Quality: Regular filter cleaning reduces dust and allergens in your home.
Saves Money: Avoids costly repairs and replacements by addressing issues early.
Enhances Cleaning Efficiency: A well-maintained vacuum cleans surfaces more effectively.
Step-by-Step Canister Vacuum Maintenance
1. Empty the Dust Bin or Replace the Bag
One of the most basic yet essential maintenance tasks is keeping the dust bin or bag clean.
For Bagged Vacuums:
Check the bag regularly and replace it when it’s 2/3 full.
Use manufacturer-recommended bags to prevent dust leaks.
Ensure the bag is properly installed to maintain strong suction.
For Bagless Vacuums:
Empty the dust bin after each use to prevent clogging.
Wash the bin with warm water and mild soap once a month.
Allow the bin to dry completely before reattaching it to the vacuum.
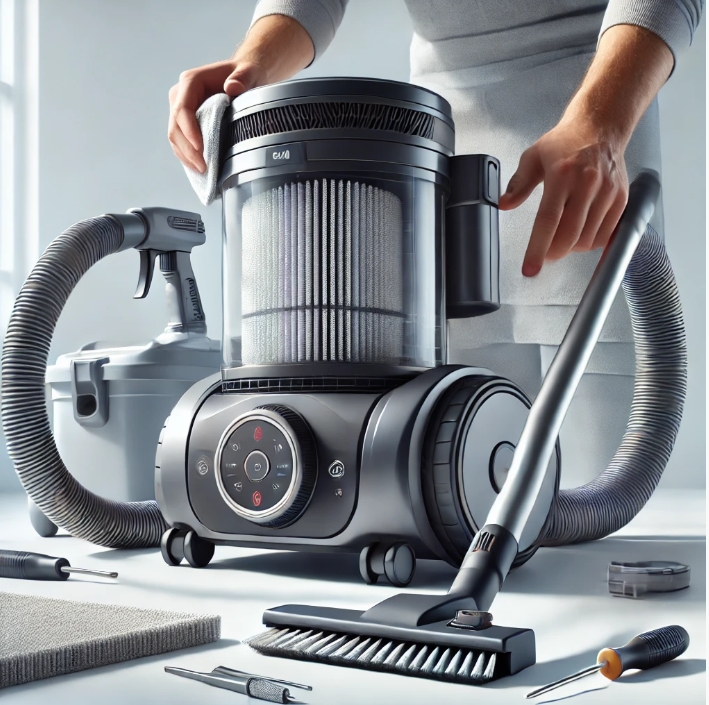
2. Clean or Replace Filters
Filters play a crucial role in trapping dust and allergens. Follow these steps to keep them clean:
HEPA Filters: If your vacuum has a HEPA filter, check the manufacturer’s instructions on whether it’s washable or replaceable. Replace it every 6-12 months.
Foam or Mesh Filters: Wash them under running water monthly and let them dry completely before reinserting.
Pre-Motor and Post-Motor Filters: These should be cleaned every few months to prevent airflow blockages.
A dirty filter can reduce suction power significantly, so always check it if you notice a decrease in performance.
3. Check and Clean the Hose
Hoses can get clogged with dirt, hair, and debris, reducing suction power. Here’s how to maintain them:
Detach the hose and inspect it for blockages by looking through it.
Use a broom handle or a long flexible brush to clear any debris.
Rinse with warm water if necessary and ensure it’s completely dry before reattaching.
Avoid excessive bending or twisting, which can lead to cracks or holes in the hose.
4. Maintain the Vacuum Brush Roll
The brush roll, or beater bar, collects hair and fibers, which can affect cleaning efficiency.
Turn off and unplug the vacuum before cleaning.
Remove hair and debris wrapped around the brush roll using scissors or a seam ripper.
Check for worn-out or broken bristles and replace the brush roll if needed.
Ensure the brush roll spins freely without resistance.
If the brush roll is motorized, check the belt for wear and replace it if it looks stretched or frayed.
5. Inspect and Clean the Wheels
Dirty wheels can spread dust and make maneuvering the vacuum difficult.
Wipe the wheels with a damp cloth regularly.
Remove any tangled hair or debris stuck in the wheel axles.
Lubricate if necessary for smooth movement.
6. Clean the Exterior and Attachments
Keeping the outer parts of your vacuum clean ensures longevity and hygiene.
Wipe down the vacuum body with a damp microfiber cloth.
Clean the extension wands, crevice tools, and brushes using mild soap and water.
Ensure all attachments are completely dry before storage.
7. Inspect the Power Cord
A damaged power cord can be a safety hazard.
Check for frayed or exposed wires before each use.
Avoid pulling the cord when unplugging; instead, hold the plug firmly.
Store the cord properly to prevent kinks or breaks.
Troubleshooting Common Canister Vacuum Problems
Even with proper maintenance, vacuums can develop issues. Here are some common problems and how to fix them:
Loss of Suction
Possible causes:
Full dust bag or bin
Clogged hose or filters
Worn-out brush roll
Solution: Empty the bin or replace the bag, clean the filters, and inspect the hose for blockages.
Strange Noises
Possible causes:
Objects stuck in the hose or brush roll
Loose internal components
Solution: Check the hose and brush roll for debris. If the noise persists, consult the manufacturer.
Burning Smell
Possible causes:
Belt is worn out or slipping
Motor overheating due to a blockage
Solution: Turn off the vacuum immediately. Check the belt and replace it if necessary. Clear any clogs and let the motor cool down before restarting.
Additional Tips for Long-Lasting Performance
To get the most out of your canister vacuum, follow these extra tips:
Use the Right Settings: Adjust the suction power based on the surface you’re cleaning.
Avoid Overfilling the Bag/Bin: This reduces efficiency and can damage internal components.
Store Properly: Keep the vacuum in a dry, cool place to prevent dust buildup.
Follow Manufacturer Guidelines: Always refer to the user manual for specific maintenance instructions.
Schedule Deep Cleanings: Perform a full inspection and deep cleaning of all parts every few months.
Replace Worn Parts: Regularly check for parts that need replacement, such as filters, belts, or brush rolls.
Regular maintenance of your canister vacuum is essential for optimal performance and longevity. By following these simple steps, you can keep your vacuum running smoothly, improve indoor air quality, and save money on repairs. Make vacuum maintenance a habit, and your cleaning sessions will be more effective and hassle-free!
Would you like to know the best vacuum for your home setup? Check out our vacuum cleaner reviews for expert recommendations! For more tips and expert advice on maintaining your vacuum, visit our website bestvacuumsguide.com (here).